Home / Guides / Web development & Coding
How to Set Up Claude Code (2026 Guide)
 Eimantas Kazėnas Marketing & Tech
- Published
- 6 min read
On this page Before you start: what you need
- Before you start: what you need
- Step 1: Install Claude Code
- What happened when we installed it
- Step 2: Sign in and start your first session
- Step 3: Create a CLAUDE.md for your project
- Step 4: Choose a permission mode you’re comfortable with
- Step 5: Try a first real task
- Which Claude plan should you pick?
- Other ways to use Claude Code
- Common setup problems
- Frequently asked questions
Independent and reader-supported. Some links may earn us a commission; it never changes our rankings. Editorial policy
How to set up Claude Code: install it with one command, sign in with a paid Claude plan, add a CLAUDE.md and pick safe permissions. Tested Nov 5, 2026.
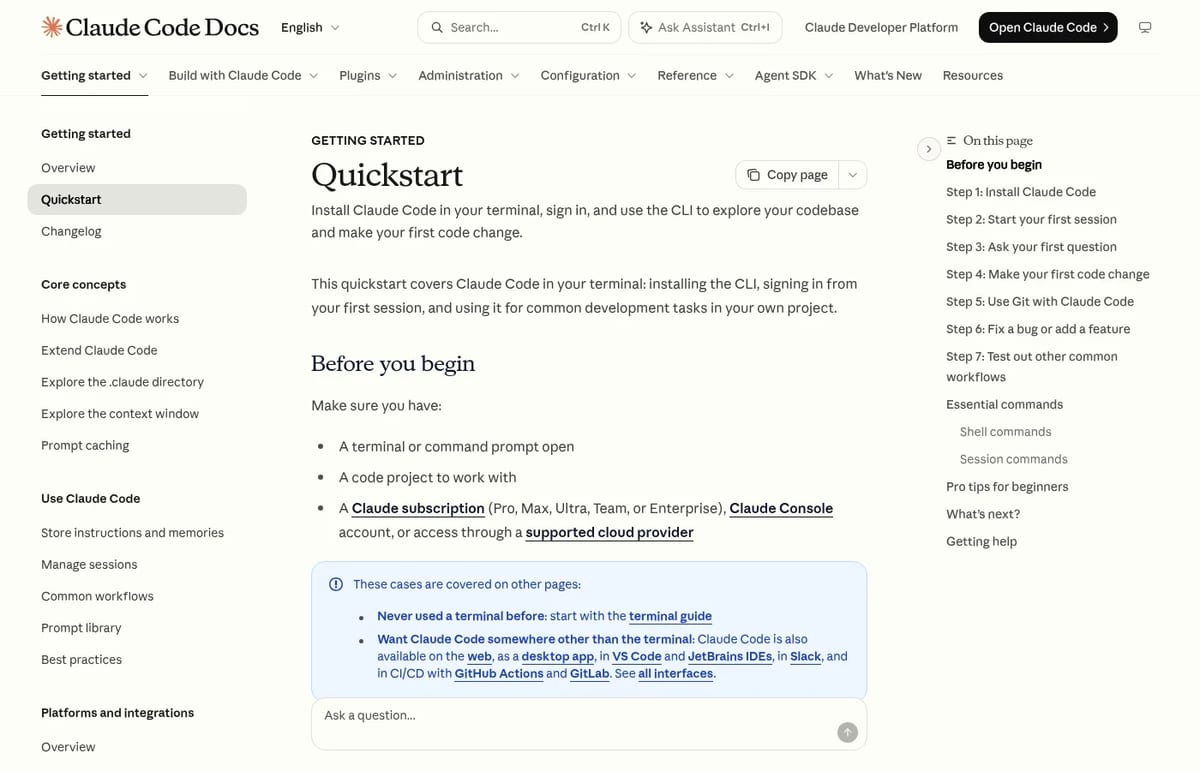
Quick answer: run the official one-line installer for your system, open a new terminal, check it with claude --version, then run claude inside a project folder and sign in. You need a Claude Pro, Max, Ultra, Team or Enterprise plan, a Claude Console account with API credits, or access through a cloud provider. The free Claude plan doesn’t include Claude Code. We installed it on a clean Linux account on November 5, 2026, and it took 24.7 seconds.
Before you start: what you need
- Operating system: macOS 13.0 or later, Windows 10 version 1809 or later (or Windows Server 2019+), or Ubuntu 20.04 or later. Other Linux distributions work too, including Alpine with a few extra packages.
- Hardware: at least 4 GB of RAM and an x64 or ARM64 processor.
- Internet connection: required, because the model runs in Anthropic’s cloud.
- A paid account: Pro or higher, or a Console account. If you’re unsure which plan you’re on, our guide to whether Claude is free explains the limits.
- Git: optional but recommended. On native Windows, install Git for Windows so Claude Code can use Bash; without it, it falls back to PowerShell.
Those requirements come from Anthropic’s setup documentation. You no longer need Node.js for the recommended install method.
Step 1: Install Claude Code
Open a terminal and run the command for your system:
- macOS, Linux and WSL:
curl -fsSL https://claude.ai/install.sh | bash - Windows PowerShell:
irm https://claude.ai/install.ps1 | iex - Windows CMD:
curl -fsSL https://claude.ai/install.cmd -o install.cmd && install.cmd && del install.cmd
Homebrew, WinGet and the Linux package managers (apt, dnf and apk) are also supported. The difference that matters: the native installer updates itself in the background, while Homebrew, WinGet and package-manager installs need manual updates by default. Unless your company manages software centrally, use the native installer.
What happened when we installed it
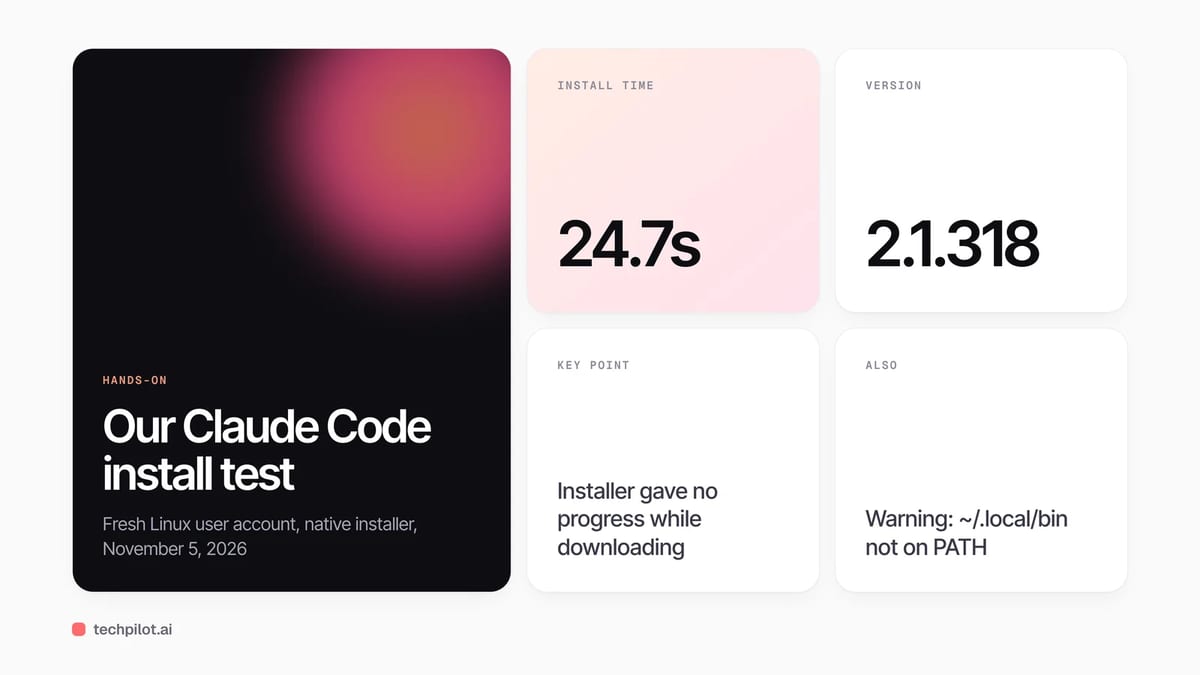
We ran the native installer on a fresh Linux user account on November 5, 2026. Three things are worth knowing before you try it yourself:
- It looks frozen at first. The script prints “Installing Claude Code native build latest…” and then shows no progress while it downloads. Ours finished in 24.7 seconds. Don’t cancel it.
- It installed version 2.1.318 to
~/.local/bin/claude. - It warned that
~/.local/binwasn’t on our PATH. On a fresh account that’s normal. Without fixing it, typingclaudegives “command not found”. The fix is the one the installer prints: addexport PATH="$HOME/.local/bin:$PATH"to your shell config, such as~/.bashrcor~/.zshrc, then open a new terminal.
We then ran claude doctor, a read-only health check that doesn’t start a session. It confirmed the native install, auto-updates on the “latest” channel and bundled search, and it repeated the PATH warning with the same fix. If anything goes wrong during setup, run claude doctor first.
Step 2: Sign in and start your first session
Go to a project folder and start Claude Code:
cd /path/to/your/projectclaude
On first run it asks you to log in through your browser. Pick your Claude subscription or Console account and approve. Your credentials are saved, so you only do this once per machine. Type /login inside a session later if you need to switch accounts.
If you sign in with a Console account, Claude Code creates a “Claude Code” workspace in the Console automatically so you can track spending separately. If you’ve set an ANTHROPIC_API_KEY environment variable, it asks whether to use that key instead.
Step 3: Create a CLAUDE.md for your project
This is the step most guides skip, and it makes the biggest difference to the quality of the work. Inside a session, run /init. Claude Code reads your codebase and writes a CLAUDE.md file with build commands, test instructions and the conventions it found. If a CLAUDE.md already exists, it suggests improvements instead of overwriting it.
Then edit the file yourself and add what it can’t discover: which commands it must never run, how you name branches, which folders are generated code. Commit CLAUDE.md so your team shares it. For personal preferences, use a CLAUDE.local.md and add it to .gitignore.
Step 4: Choose a permission mode you’re comfortable with
The session’s permission mode decides which actions Claude Code can take without asking you first, such as editing files or running commands. Press Shift+Tab during a session to switch modes. Our advice for your first week: keep the approvals on, read each proposed change, and work on a Git branch so every change is easy to undo. Loosen permissions only for repetitive, low-risk work once you trust how it behaves in your codebase.
Step 5: Try a first real task
Start with questions before edits. These prompts work well on day one:
- “What does this project do, and where is the main entry point?”
- “Explain the folder structure.”
- “Write unit tests for the calculator functions.”
- “What files have I changed? Commit them with a descriptive message.”
Claude Code reads files as it needs them, so you don’t have to paste code into the chat.
Which Claude plan should you pick?
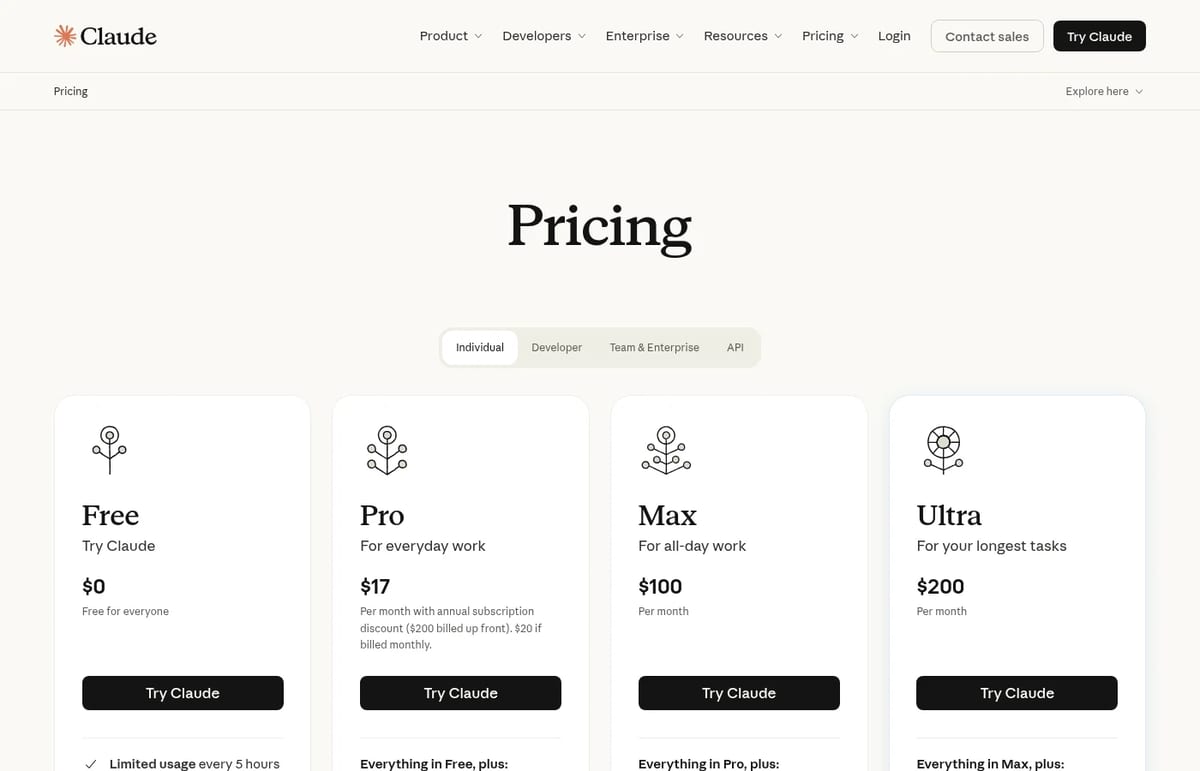
| Plan | Price | Claude Code |
|---|---|---|
| Free | $0 | Not included |
| Pro | $17 a month billed yearly ($200), or $20 monthly | Included |
| Max | $100 a month | Included, 5x Pro usage |
| Ultra | $200 a month | Included, 10x Pro usage a week, no 5-hour limit for verified accounts |
Prices are from Claude’s pricing page on November 5, 2026, and don’t include tax. Pro is the right place to start. If you hit the 5-hour limits most days, move up to Max.
Other ways to use Claude Code
The terminal isn’t the only option. Claude Code also runs on the web, as a desktop app for macOS, Windows and Linux, inside VS Code and JetBrains IDEs, in Slack, and in CI pipelines through GitHub Actions and GitLab. The desktop app is the easiest route if you’d rather not touch a terminal at all. To extend it further, Claude Code supports MCP servers; our explainer on what MCP is covers the basics. And if you’re still choosing a coding agent, see our roundup of the best AI agents for coding.
Common setup problems
- “claude: command not found”: the install folder isn’t on your PATH. Add
~/.local/binas shown above and open a new terminal. - “The token ‘&&’ is not a valid statement separator”: you ran the CMD command in PowerShell. Use the PowerShell command instead.
- “‘irm’ is not recognized”: the reverse. You’re in CMD, so use the CMD command.
- Install fails with a 403 or “syntax error near unexpected token”: check Anthropic’s troubleshooting page, which matches each error to a fix and lists alternative install methods.
- Login keeps failing: check that your plan includes Claude Code. The free plan doesn’t.
Frequently asked questions
Is Claude Code free?
No. Claude Code needs a Claude Pro, Max, Ultra, Team or Enterprise plan, a Claude Console account with API credits, or a supported cloud provider. The free Claude plan doesn’t include it.
How do I install Claude Code?
On macOS, Linux or WSL run curl -fsSL https://claude.ai/install.sh | bash. On Windows PowerShell run irm https://claude.ai/install.ps1 | iex. Then open a new terminal and run claude –version.
Does Claude Code need Node.js?
Not for the recommended native installer. An npm install method still exists, but the native installer, Homebrew, WinGet and Linux package managers don’t need Node.js.
Why does it say claude command not found?
The install folder, usually ~/.local/bin, isn’t on your PATH. Add it to your shell config file, open a new terminal, and run claude doctor to confirm.
What is CLAUDE.md in Claude Code?
It’s a project file with build commands, test steps and conventions that Claude Code reads every session. Run /init to generate one, then add your own rules.
Found this useful? Share it with someone comparing AI tools.

What Are Tokens in AI? A Simple Guide (2026)
What are tokens in AI? Tokens are the small chunks of text a model reads and writes. See a tokenizer example, context windows and real costs per 1M…
 Eimantas Kazėnas · 8 min read

The Top Website Design Agencies For Your Business In 2026 Reviewed
Discover the Top design website agencies in 2026, from custom B2B platforms and SaaS websites to e-commerce CRO and iconic brand design.
 John Daniel · 5 min read